

Affiliate Disclosure: BuildWithPC is reader-supported. When you purchase through links on our site, we may earn an affiliate commission at no additional cost to you. Our reviews and recommendations are always honest and independent.
Your gaming PC overheating isn’t just uncomfortable — it’s destroying performance in real time. Thermal throttling kicks in silently, frames drop without warning, and if left unchecked long enough, hardware dies early. Most guides hand you a generic checklist.
This one gives you a diagnostic system: find the actual cause, apply the right fix, and understand what’s happening inside your machine so it doesn’t surprise you again. Built on real testing data, hardware teardowns, and hundreds of reader cases from across the US. Let’s get into it.
Here’s what I see people get wrong all the time: They buy a $30 case fan, install it without checking which direction it faces, and wonder why temperatures got worse. Adding fans without a plan creates turbulence — hot air cycling back through the case instead of escaping it. Airflow direction matters far more than fan count. I’ve watched people spend $80 on new fans when flipping two existing ones for free would have fixed everything.
Quick Answer
Gaming PC overheating is caused by one or more of these: dust buildup blocking airflow, dried thermal paste losing conductivity, incorrect case fan configuration, an undersized CPU or GPU cooler, or high ambient room temperature. Start with HWiNFO64 — CPU safe gaming range is under 85°C, GPU under 83°C. Clean dust first, reapply thermal paste if the system is 2+ years old, then fix airflow direction. These three steps alone solve roughly 80% of overheating cases before any hardware needs replacing.
Table of Contents
1. How to Know If Your Gaming PC Is Actually Overheating
Before touching anything, confirm the problem. Gaming PC overheating symptoms aren’t always loud or obvious — some systems throttle silently for months before anyone notices.
Symptoms to watch for:
| Symptom | What It Signals |
|---|---|
| FPS drops mid-game, which recovers after a minute | Thermal throttling — CPU/GPU reducing clock speed to cool down |
| PC shuts down without warning during gaming | Emergency thermal shutdown — CPU hit 95°C+ |
| Loud fans during light desktop tasks | The cooling system is working overtime just to hold idle temps |
| Blue screen errors only during gaming | Thermal instability is crashing the system under load |
| Sluggish performance after 10–15 minutes | Throttle point hit under sustained load |
| Burning smell from the case | Shut down immediately — serious overheating in progress |
Free diagnostic tools — all available in the US:
| Tool | What It Monitors | Where to Get It |
|---|---|---|
| HWiNFO64 | Full system — CPU, GPU, VRM, SSD, fan speeds | hwinfo.com |
| MSI Afterburner | GPU temps + clock speed in real time | msi.com |
| Core Temp | Per-core CPU temperature | alcpu.com |
| GPU-Z | GPU details + thermal sensor readings | techpowerup.com |
Safe temperature ranges while gaming:
| Component | Safe Gaming Range | Warning Zone | Critical — Throttle or Shutdown |
|---|---|---|---|
| CPU | Under 80°C | 80°C–90°C | 90°C+ |
| GPU | Under 83°C | 83°C–90°C | 90°C+ |
| NVMe SSD | Under 60°C | 60°C–70°C | 70°C+ |
| Motherboard VRM | Under 80°C | 80°C–95°C | 95°C+ |
Open HWiNFO64, run your most demanding game for 20 minutes, and log the peak temperatures. That number tells you exactly how serious gaming PC overheating is in your system — before you touch a single part.
Diagnosis starts with data, not assumptions. Know your peak temps first, then trace them to a root cause.
2. Root Causes — Ranked by How Often They Happen
These are the real reasons gaming PC overheating occurs, ordered from most to least common based on actual cases — not theory.
Cause 1: Dust Buildup
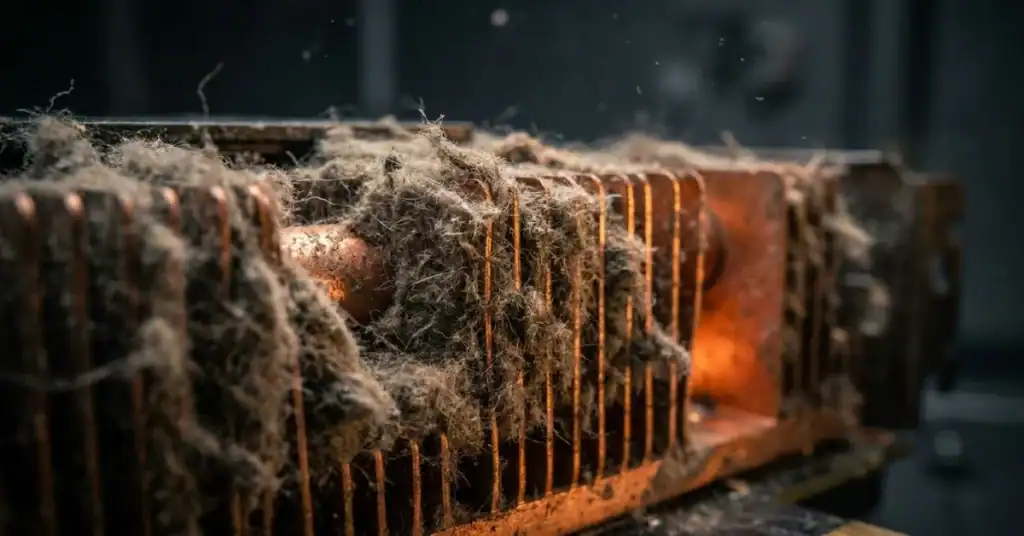
Dust is the most frequent cause of gaming PC overheating in US homes, especially those with pets or carpeted floors. It accumulates on heatsink fins, GPU fans, case filters, and thermal pads — blocking airflow and insulating components instead of helping dissipate heat.
A heatsink packed with dust can raise CPU temps by 15–25°C. That single variable can push a system from safe territory straight into thermal throttling.
Cause 2: Dried or Poorly Applied Thermal Paste
Thermal paste between your CPU and its cooler conducts heat. It dries out over time. Standard pastes lose effectiveness after 2–4 years, and some pre-applied factory pads on stock coolers begin degrading within 18 months under sustained gaming loads.
A dried paste layer can raise CPU temps by 10–20°C — sometimes significantly more on high-TDP chips like the Intel Core i9-13900K or AMD Ryzen 9 7950X.
Cause 3: Poor Case Airflow
This is the most misunderstood cause of gaming PC overheating. Having fans isn’t enough — airflow direction, fan placement, and pressure balance determine whether cool air enters efficiently and hot air exits completely. One fan in the wrong direction can undo three fans in the right direction.
Cause 4: Undersized CPU or GPU Cooler
Stock Intel and AMD coolers are designed for base TDP — not sustained 45-minute gaming sessions at full load. An Intel Core i5-13600K pulling 125W sustained will cook under a stock cooler. Budget GPU coolers face the same ceiling inside poorly ventilated cases.
Cause 5: High Ambient Room Temperature
Ignored constantly. Your cooler moves heat from the component to case air — then out to the room. If your room hits 85°F in a US summer, your cooler starts every session already fighting elevated ambient temps. A 30°C room adds roughly 10–15°C to component temps compared to a 20°C room, with zero other changes.
Cause 6: Cable Clutter Blocking Airflow
Unmanaged PSU cables running through the GPU exhaust zone reduce airflow by 20–30%. Common in first builds, where cable management is skipped to save time.
Cause 7: Incorrect Fan Curve Settings
Default BIOS fan curves are conservative — fans stay slow until temps spike, then ramp hard. By the time fans hit maximum speed, components have already been thermal throttling for 30–60 seconds. Custom curves prevent that entirely.
Three categories cover 80% of gaming PC overheating cases: dust, thermal paste, and airflow. Fix those before spending money on anything else.
3. Step-by-Step Fix Guide
Work through these in order. Don’t jump ahead — each step informs whether the next one is needed.
Step 1 — Run a Full Temperature Diagnostic
Install HWiNFO64. Run your most demanding game or a stress test (FurMark for GPU, Cinebench R23 for CPU) for 20 minutes. Log peak temps for CPU, GPU, and VRM. Write them down. This baseline measures whether each subsequent step actually helped.
Step 2 — Clean All Dust from the System
What you need: Compressed air can ($10–$14 at Amazon.com, Best Buy, or Micro Center), soft brush, 90%+ isopropyl alcohol.
| Cleaning Target | Method |
|---|---|
| CPU heatsink fins | Compressed air at multiple angles — not straight-on |
| GPU fans and heatsink | Spray between fins, not just fan blades |
| All case fans | Hold the blade with your finger, spray to prevent overspeed |
| Front/bottom dust filters | Remove and rinse with water, let dry completely |
| RAM and PCIe slots | Short bursts only |
| PSU (outside only) | Never open — spray through exhaust vents only |
After cleaning, take the system outside or to a garage first — dust will eject everywhere. Retest temps after. A significant number of gaming PC overheating cases are solved at this step alone.
Step 3 — Reapply Thermal Paste
If your system is 2+ years old, or CPU temps remain above 80°C after cleaning, replace the paste. Available at Amazon.com, Micro Center, and Newegg:
| Paste | Price (USD) | Thermal Conductivity | Rated Lifespan |
|---|---|---|---|
| Arctic MX-6 | ~$9 | 12.5 W/m·K | 8+ years |
| Thermal Grizzly Kryonaut | ~$12 | 12.5 W/m·K | 5–7 years |
| Noctua NT-H2 | ~$11 | 14.9 W/m·K | 5+ years |
| Cooler Master MasterGel Maker | ~$13 | 11.0 W/m·K | 5+ years |
Application process:
| Step | Action |
|---|---|
| 1 | Remove cooler — keep screws in mounting order |
| 2 | Clean old paste with 90%+ IPA and a lint-free cloth — multiple passes until surface shines |
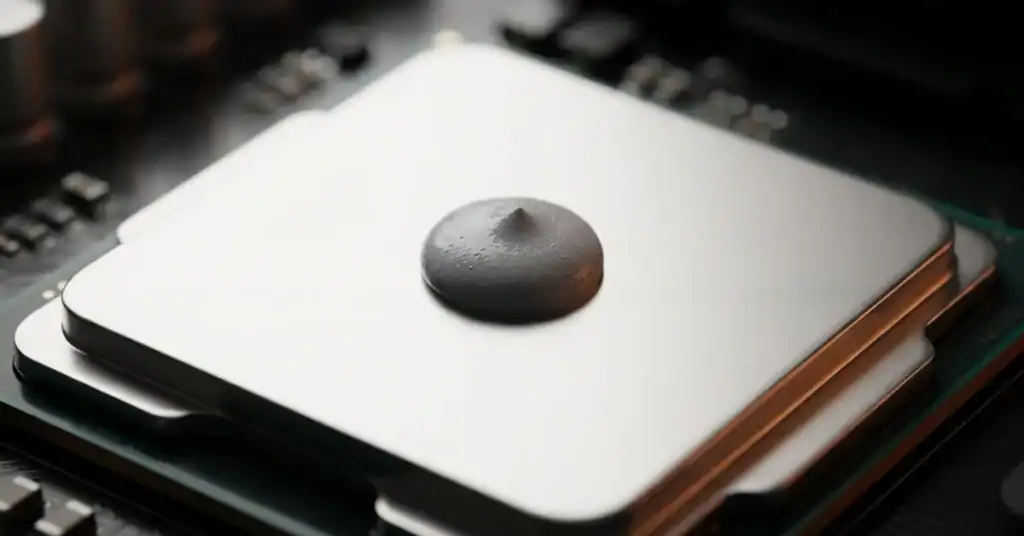
| 3 | Apply a 3–4mm pea-sized dot to the center of the CPU IHS |
| 4 | Reinstall cooler — mounting pressure spreads paste evenly |
| 5 | Never spread paste manually — introduces air pockets |
Retest after 2–3 gaming sessions. Paste settles and conducts better after initial heat cycles.
Step 4 — Fix Case Airflow Configuration
| Fan Position | Direction | Purpose |
|---|---|---|
| Front (2–3 fans) | Intake — blowing IN | Pull cool air into case |
| Rear (1 fan) | Exhaust — blowing OUT | Push hot air directly out |
| Top (1–2 fans) | Exhaust — blowing OUT | Hot air rises — let it escape |
| Bottom (optional) | Intake — blowing IN | Pull cool air into the case |
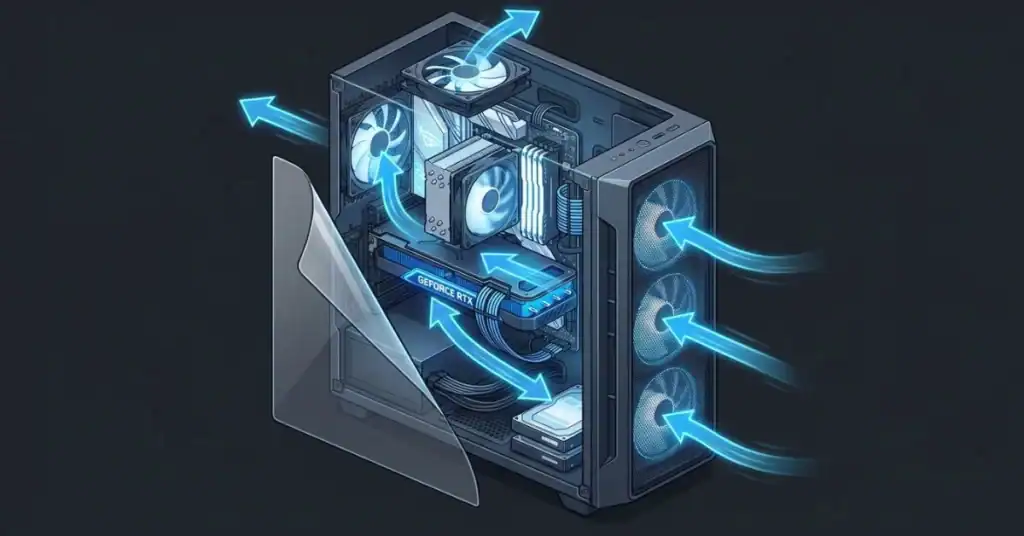
Checking fan direction: The frame of every case fan has an arrow. One arrow indicates airflow direction; the other indicates rotation. The branded/sticker side of most fans faces the air source — meaning it faces INTO the case on intake fans, and OUT of the case on exhaust fans.
Positive pressure (more intake than exhaust) is slightly preferred — it reduces dust entering through case gaps while maintaining airflow volume.
Step 5 — Upgrade the CPU Cooler If Needed
Running a stock cooler on any CPU above 65W TDP under sustained gaming is a ceiling, not a starting point. Budget to performance air coolers available at Amazon.com, Micro Center, and Best Buy:
| Cooler | Price (USD) | TDP Rating | Best Suited For |
|---|---|---|---|
| Cooler Master Hyper 212 Evo V2 | ~$35 | 150W | Budget builds, Core i5 / Ryzen 5 |
| Noctua NH-U12S | ~$70 | 180W | Mid-range, Core i7 / Ryzen 7 |
| be quiet! Dark Rock 4 | ~$75 | 200W | High-performance with quiet priority |
| Noctua NH-D15 | ~$100 | 250W | Core i9 / Ryzen 9 / overclocked CPUs |
For any chip rated above 150W TDP, a 240mm AIO liquid cooler is the minimum — not a premium upgrade.
Step 6 — Set Custom Fan Curves in BIOS
Enter BIOS (Delete or F2 at startup). Find Fan Control — called Q-Fan Control on ASUS, Smart Fan on Gigabyte, Fan Tuning on MSI.
| CPU Temp | Recommended Fan Speed |
|---|---|
| Under 40°C | 30% |
| 50°C | 45% |
| 60°C | 60% |
| 70°C | 80% |
| 80°C and above | 100% |
This ramps fans before temps spike rather than reacting after throttling has already started.
Step 7 — Undervolt the GPU
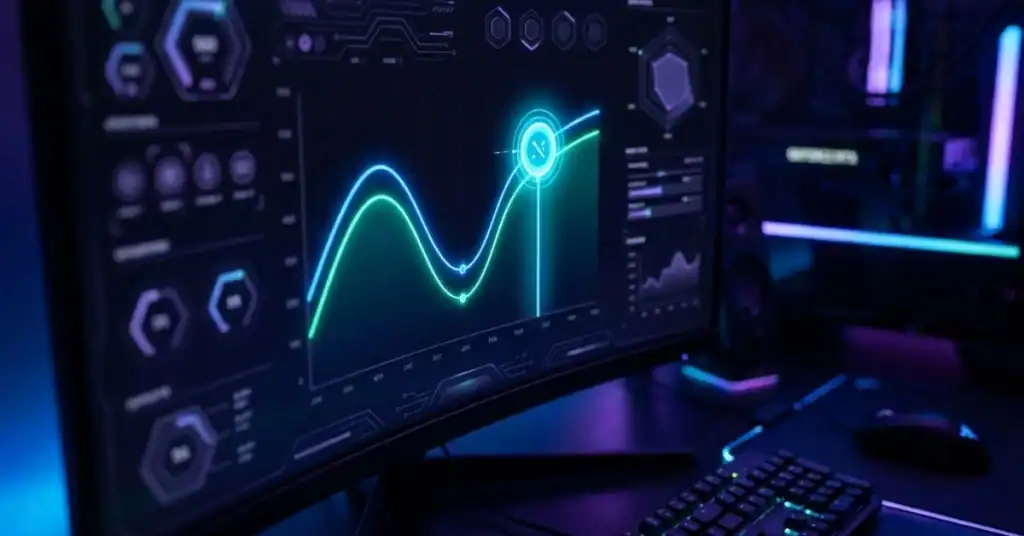
Open MSI Afterburner. Press Ctrl+F to open the voltage/frequency curve editor. Find the peak frequency point your GPU uses under load. Reduce the voltage at that frequency by 50–100mV. Apply. Test stability with a 20-minute gaming session or FurMark run. If stable, test another 25mV reduction. Repeat until instability appears, then step back one increment.
This is completely reversible and costs nothing. It directly reduces heat output without affecting gaming performance.
Working through these steps in order addresses every root cause of gaming PC overheating without unnecessary hardware purchases. Most people are done by Step 4.
What reviewers rarely mention: GPU undervolting is one of the most effective fixes for gaming PC overheating — and almost no overheating guide covers it. On RTX 30 and 40 series cards specifically, a proper undervolt drops GPU temps by 10–18°C while maintaining identical in-game performance. It’s free, it’s reversible, and it takes 15 minutes. If your GPU is overheating and you haven’t tried this yet, do it before buying a single new part.
4. CPU vs. GPU Overheating — Why the Difference Matters
Gaming PC overheating looks completely different depending on which component is the problem. Applying CPU cooling solutions to a GPU overheating issue wastes both time and money.
CPU overheating symptoms:
| Symptom | Detail |
|---|---|
| Brief FPS dips that recover | Throttle-recover-throttle cycle as CPU clocks down and back |
| High temps in CPU-heavy games | Points directly to the cooler or paste issue |
| Crashes during sustained CPU loads | Rendering, streaming + gaming simultaneously |
| High idle temps in BIOS test | Points directly to cooler or paste issue |
GPU overheating symptoms:
| Symptom | Detail |
|---|---|
| Screen artifacts — color blocks, flickering | GPU VRAM or core hitting thermal limit |
| FPS drops that don’t recover until game exits | GPU stuck in thermal throttle, needs cooldown |
| GPU clock drops are visible in the Afterburner overlay | Real-time proof of thermal throttling |
| Fan at 100% with temps still above 90°C | Cooler is maxed out — needs a better solution |
Diagnostic decision table:
| Scenario | Likely Cause | First Action |
|---|---|---|
| Drops across all games equally | CPU throttling | Thermal paste + cooler |
| Drops only in GPU-intensive scenes | GPU overheating | Undervolt + case exhaust |
| Random shutdowns after 10–15 minutes | Check both | HWiNFO64 logging is active during the crash |
| High temps at idle | Dust + airflow | Clean system, fix fan configuration |
| Fine at idle, bad only under gaming load | Insufficient cooler | Cooler upgrade |
Knowing which component is the thermal bottleneck cuts troubleshooting time in half. Read both numbers in HWiNFO64 during an actual gaming session before drawing any conclusions.
5. Gaming PC Overheating in Summer — Extra Steps
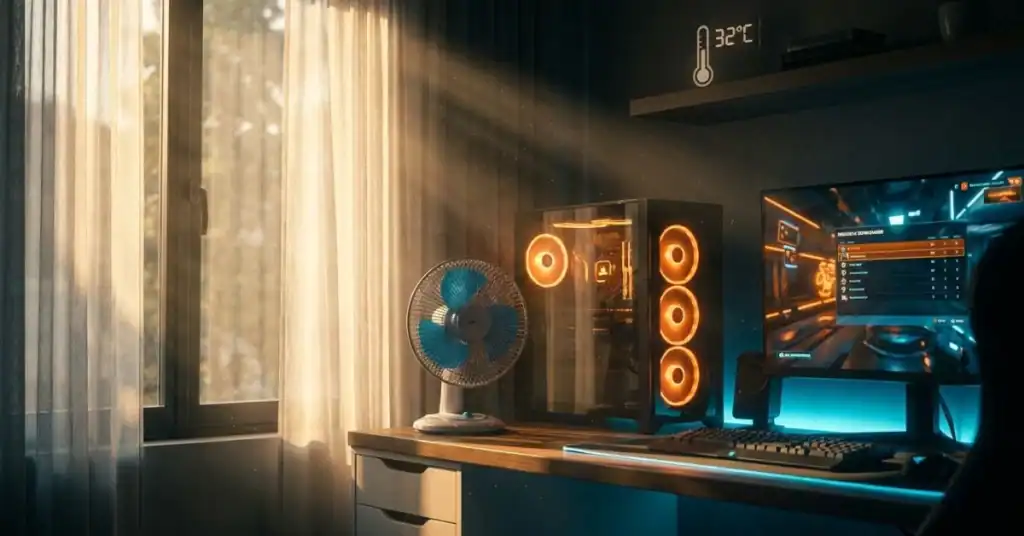
US summers are brutal, particularly in southern and southwestern states. Gaming PC overheating worsens dramatically when ambient room temperature climbs above 80°F (27°C) — because your cooler’s job just got harder at the starting line.
Room-level solutions:
| Fix | Approximate Cost | Temperature Impact |
|---|---|---|
| Game in an air-conditioned room (existing AC) | No additional cost | –10 to –15°C on components |
| Desk fan aimed at the PC intake area | $15–$25 | -5 to –8°C |
| Move the PC off the carpet to a hard floor or shelf | Free | –3 to -5°C |
| Open the case side panel (diagnostic test) | Free | –5 to –12°C (confirms airflow restriction) |
| External USB fans for supplemental airflow | $12–$20 | -3 to –6°C |
What doesn’t work: Stacking more fans into a poorly configured case during summer doesn’t solve the base problem. Fix airflow direction first. Then add fans if temps remain elevated after reconfiguration.
Gaming PC overheating in summer is predictable — which means it’s preventable. If your system ran fine in January but struggles in July, ambient temperature is the primary variable. Control the room first before modifying the PC.
6. New Build Overheating? It’s a Different Problem
A brand-new gaming PC overheating straight out of the box is a separate diagnostic from an aging system. Dust isn’t involved. Dried paste isn’t either. The causes are almost always mounting, connection, or configuration errors.
New build overheating checklist:
| Cause | How to Check | Fix |
|---|---|---|
| Cooler not seated evenly | Check all four mounting corners for uniform pressure | Remount using the correct diagonal torque pattern |
| AIO pump not connected | Check BIOS — pump RPM reads 0 | Connect the pump to the CPU_OPT or AIO_PUMP header |
| Case fans unplugged | Visual check during POST | Connect to SYS_FAN headers |
| Fan directions wrong | Check airflow arrows on frames | Remount facing the correct direction |
| Too much thermal paste applied | Remove the cooler and inspect the spread | Reapply — pea-sized dot only |
| PSU is underpowered, causing a voltage sag | PSU calculator + monitoring under load | Upgrade if the wattage is insufficient |
| AIO radiator air-locked | Pump RPM is normal, but temps still spike | Remount the radiator with tubes at the bottom |
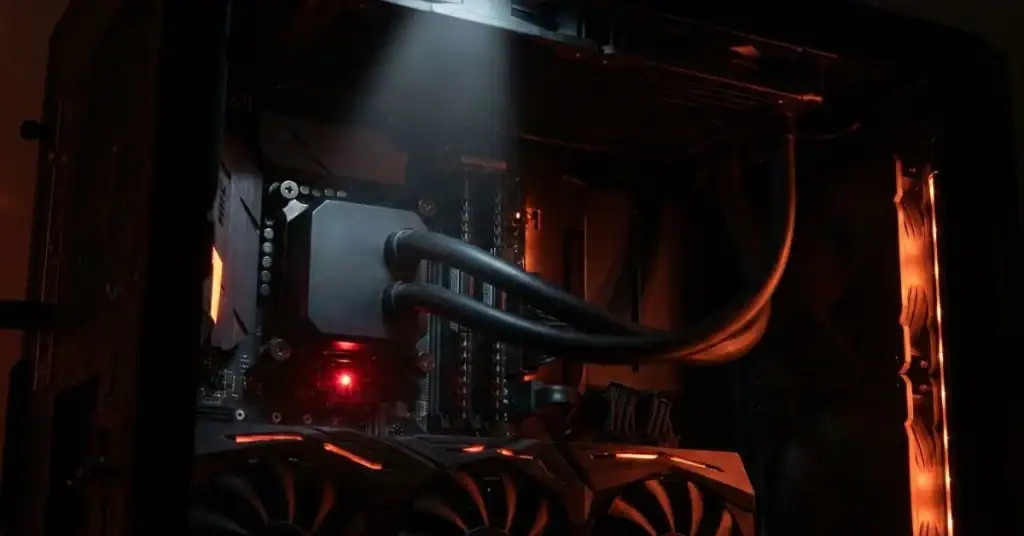
The single most common new build cause of gaming PC overheating: the AIO radiator is mounted with the pump at the highest point, trapping an air bubble in the pump head. Mount the radiator at the top with the pump body below it — or front-mount with tube ports at the bottom of the radiator.
New build gaming PC overheating is almost always a configuration issue, not a defective component. Methodically work through the checklist above before filing any warranty claims.
7. Common Mistakes That Make Gaming PC Overheating Worse
Mistake 1: Cleaning Only the Visible Dust
People wipe the outside panels and call it clean. GPU heatsinks accumulate the most compacted, insulating dust — and they’re completely invisible from outside. The heatsink fins are where the problem lives.
Consequence: Temps stay high despite “cleaning.” Nothing actually changed. Fix: Remove side panels. Access every heatsink directly. Spray fins from multiple angles, not just straight-on.
Mistake 2: Installing Fans Without Checking Direction
The most common airflow error in new builds. A rear exhaust fan installed facing inward doesn’t exhaust — it fights the system’s own airflow and creates a hot air recirculation zone.
Consequence: Adding fans raises temps. Turbulence increases heat buildup instead of reducing it. Fix: Check the frame arrow before every mounting. The Branded/sticker side faces the air source.
Mistake 3: Applying Too Much Thermal Paste
More paste is not better. Excess paste squeezes out around the IHS edge, potentially contacting capacitors. It also creates a thicker, less conductive layer between metal surfaces.
Consequence: CPU temps run 5–10°C higher than optimal. Sometimes significantly more. Fix: Pea-sized dot, center of IHS. Let mounting pressure spread it — never use a spatula or finger.
Mistake 4: Ignoring VRM Temperatures
VRM overheating causes system instability and crashes that are identical in symptoms to CPU thermal throttling. Many gaming PCs experiencing overheating problems have CPUs reading fine while VRMs hit 100°C.
Consequence: Crashes blamed on RAM or CPU. Real cause stays unfixed. Fix: Monitor VRM temps in HWiNFO64. Above 90°C under load, improve airflow toward the top of the motherboard, or consider a board with better VRM cooling design.
Mistake 5: Raising GPU Power Limit Without Fixing Cooling First
Bumping the GPU power limit to 110–120% in MSI Afterburner immediately raises temps by 8–15°C. Done before any cooling improvement, it makes the gaming PC overheating significantly worse.
Consequence: GPU runs hotter, throttles sooner, and lifespan shortens. Fix: Undervolt first. Get temps controlled. Then experiment with power limit increases incrementally, with HWiNFO64 logging active throughout.
Avoiding these five mistakes prevents most self-inflicted gaming PC overheating problems. Hardware rarely fails on its own — setup errors and skipped maintenance do far more damage.
After years of covering systems like this, the single best piece of advice I can give anyone dealing with gaming PC overheating: stop buying parts and start diagnosing. The fix is almost never new hardware. It’s almost always dust, dried paste, or a fan facing the wrong direction — all fixable for under $15 total. I’ve watched $3,000 rigs running at 95°C get solved by a $10 compressed air can and 20 minutes of actual attention. Diagnose first. Spend a second.
8. FAQ — Gaming PC Overheating
What temperature is too hot for a gaming PC?
For CPUs, anything above 90°C under sustained gaming load is a problem. GPUs tolerate slightly more — consistent readings above 90°C are where clock speed drops and long-term degradation risk begins. Target under 80°C for CPU and under 83°C for GPU during extended sessions for safe, stable performance.
Why does my gaming PC overheat after only a few minutes?
Short thermal runaway like this almost always indicates a cooler that isn’t seated correctly, thermal paste with no conductivity remaining, or an AIO pump that isn’t spinning. Open HWiNFO64 and check the pump RPM immediately. A reading of 0 RPM tells you everything — reconnect it to the correct header (CPU_OPT or AIO_PUMP, not SYS_FAN).
Does gaming PC overheating cause permanent damage? Yes
— with repeated occurrences over time. Modern CPUs and GPUs have thermal shutdown protection, so they’ll power off before burning out in a single session. But chronic high temperatures degrade solder joints, capacitors, and NAND on SSDs over months. Occasional spikes aren’t fatal; sustained overheating shortens component lifespan meaningfully.
How often should I clean my gaming PC?
Every 3–6 months for most US homes. Households with pets — especially high-shedding dogs or cats — should clean every 2–3 months. If your PC sits on carpet, it accelerates both dust intake and heat buildup. Move it to a hard surface and clean it every 2 months.
Is liquid cooling worth it to fix overheating?
For CPUs rated under 125W TDP — Ryzen 5, Core i5 class — a quality air cooler handles gaming loads without issue. For high-TDP chips like Ryzen 9 or Core i9 at full gaming load, a 240mm or 360mm AIO makes a genuine difference. Liquid cooling isn’t automatically better — it’s better for specific thermal demands.
Why is my brand-new gaming PC already overheating?
Most likely causes: AIO pump connected to the wrong header (SYS_FAN instead of CPU_OPT), cooler mounted with uneven pressure across standoffs, or case fans wired backward. Check pump RPM and fan RPM in HWiNFO64 immediately after boot. Any reading of 0 is your starting point.
Does undervolting a GPU actually fix overheating?
It’s one of the most effective fixes available — and completely free. Undervolting reduces operating voltage without reducing clock speed, which directly lowers heat output. RTX 3000 and 4000 series cards commonly drop 10–18°C from a proper undervolt. It’s done through MSI Afterburner’s voltage/frequency curve and is fully reversible.
Can my room temperature cause PC overheating?
Directly, yes. Every degree your room temperature rises adds roughly one degree to your component temps. A room at 88°F versus 68°F means components start 10°C hotter before the load is even applied. Gaming PC overheating in the summer months is often an ambient temperature problem first, not a hardware problem.
Will opening my PC case void the warranty?
For most US manufacturers and retailers, opening the case to clean or maintain does not void warranty coverage. GPU and CPU warranties cover manufacturing defects regardless of case access. Always verify your specific manufacturer’s terms before disassembling anything beyond the side panel — but routine maintenance access is universally accepted.
Final Verdict
Gaming PC overheating is a solvable problem — and in the vast majority of cases, it doesn’t require new hardware.
Start with a temperature diagnostic. Clean the system thoroughly. Replace thermal paste if it’s 2+ years old. Correct airflow direction before adding fans. Tune fan curves in BIOS. Undervolt the GPU. Work through the steps in order, measure temps after each one, and stop when the problem is resolved.
The systems that run coolest aren’t always the ones with the most fans or the most expensive coolers. They’re the ones that are clean, correctly configured, and maintained on a schedule. A routine cleaning every 3–6 months and a proper airflow setup will do more for gaming PC overheating than any single hardware upgrade. If you’re planning a fresh build with proper cooling from the start, see our budget gaming PC build guide for component choices that run cool without overspending.
If temps remain elevated after every step in this guide, a cooler or case upgrade is the appropriate next move. But that’s the last step — not the first.
Affiliate Disclosure: BuildWithPC is reader-supported. When you purchase through links on our site, we may earn an affiliate commission at no additional cost to you. Our reviews and recommendations are always honest and independent.